
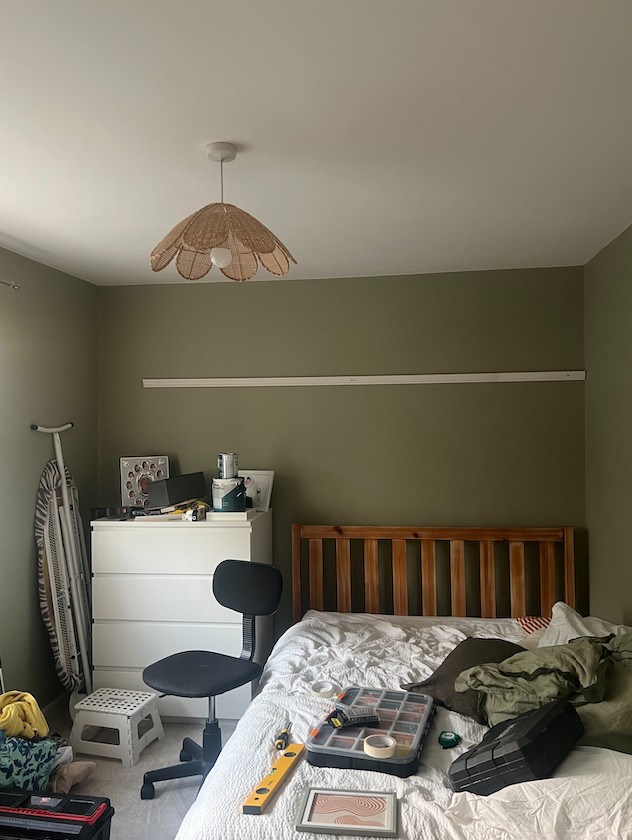
My DIY projects have slowed down since having a child (understandably), so I’ve got a fair few things still burning a hole in my to-do list. But I’ve finally gotten around to a bedroom project – and my only regret is that I wish I had done it sooner! I’ve added a simple but effective picture rail to create a feature wall in our spare room. It was surprisingly affordable, with the MDF costing just £9.97, and so easy to do, so I thought I’d share it with you. Here’s how you can recreate the look.
My materials/tools to add a picture rail:
How to add a picture rail
- Firstly, you’ll need to measure your wall to see if one piece of wood will fit the width; if not, you may need two. I used two, so that doubled the cost, but it’s still so affordable.
- Cut the wood to size to fit your space. I just used a hand saw for this – it doesn’t need to be overly neat. Don’t worry if you have a few mm gap at either end, as this can easily be filled with caulk at the end.
- Then, I used a spirit level to draw a perfectly straight line to give me a guide for putting it up.
- As the piece of wood is rather long and needs to be suspended, I decided to use screws to affix it to the wall, as well as grab adhesive. Drill pilot holes in the wood. I chose to do three equally spaced ones for maximum support and then mark where you’ll need to drill on the wall.
- Drill the holes, tap in the wall plugs, add No More Nails to the back of the wood and then add a screw through the holes in the wood and into the wall.
- Now, you can caulk in any gaps.
- Paint your desired colour, and then stand back and admire your work.
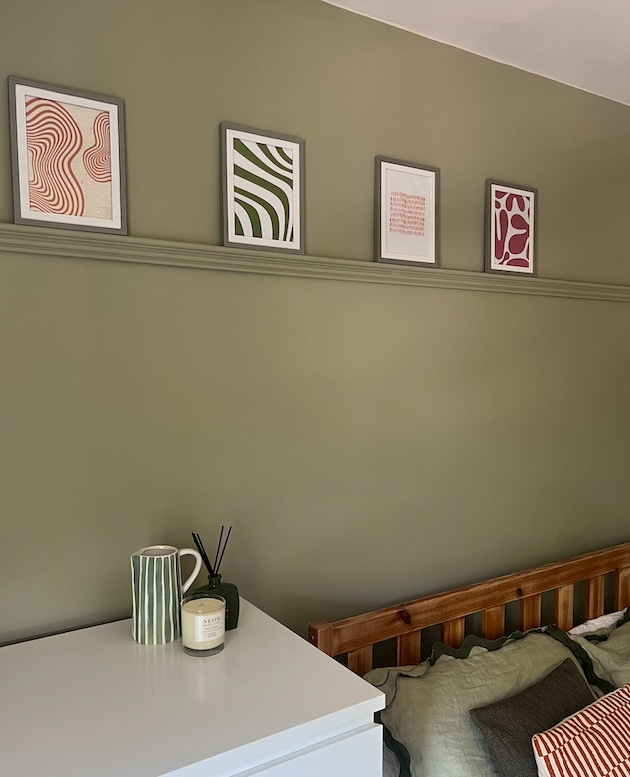
It’s worth noting, you’ll need to use very thin picture frames with this rail, or you can use a traditional picture frame hook and hang your prints underneath. Here is some styling inspiration I’ve found on Instagram. Happy DIY-ing!
Read the full article here