Still not hung that picture on the wall? Yes, I get it, this is the sort of DIY task that slips to the bottom of the priority pile, but what if I told you that you could get it done and dusted in your lunch break, and still have time to spare? You just need one nifty piece of kit…
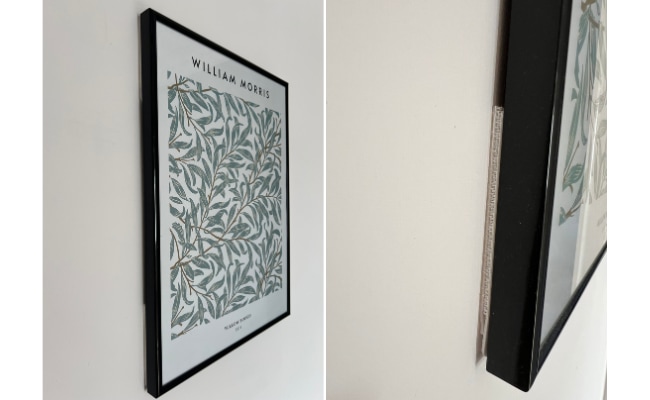
I’ve long been a fan of Command hanging strips since I started using them in my London rental days. They are the perfect way to fix photo frames onto your wall without having to drill any holes. Making it quicker, easier and less messy.
Why use Command strips?
They are so much easier to use than the faff of drilling a hole in your wall and the major bonus is that when you remove them, your wall is left with no damage whatsoever. This means, that if you want to switch up your room and move your pictures you can do so very easily.
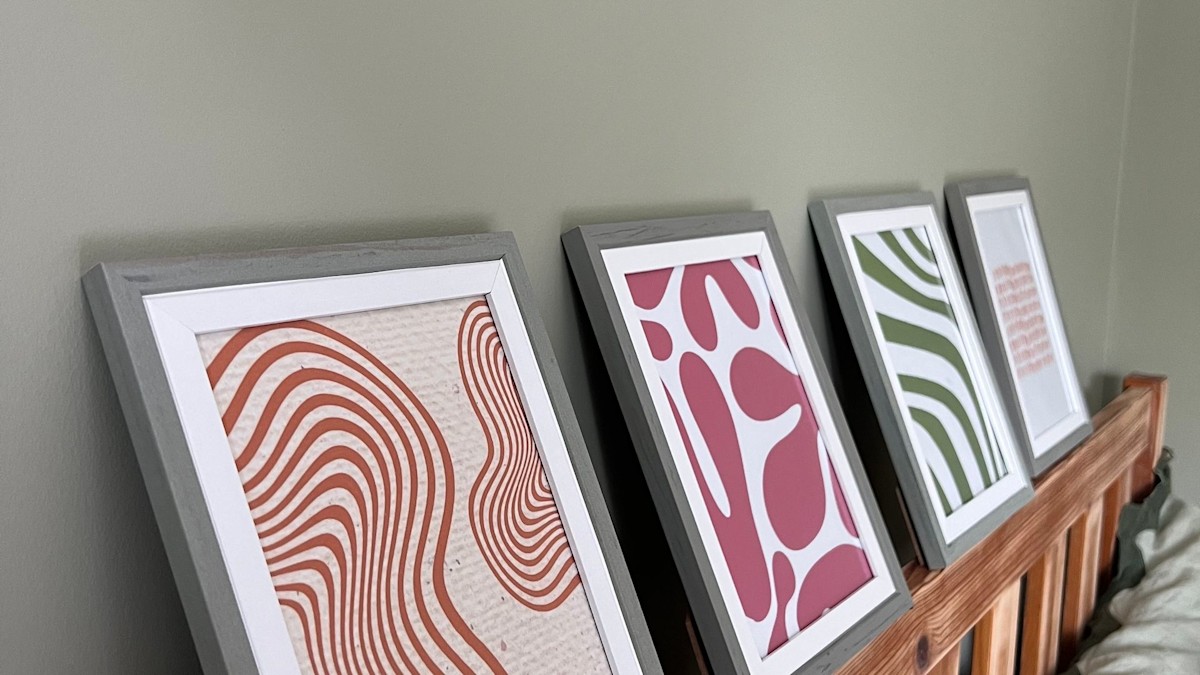
When I first started using them, I wasn’t sure how strong they would actually be, but because you can get various sizes that are suitable for different weights, you can find the perfect one for your project. I’ve even got some very large IKEA picture frames in my lounge held up with a strip on each corner. The two Velcro sides that come together are unbelievably strong.
I’ve also previously used the small Command hooks inside my cupboards for handy storage, making use of every bit of space, and they stay on so well, too.
How to use Command strips
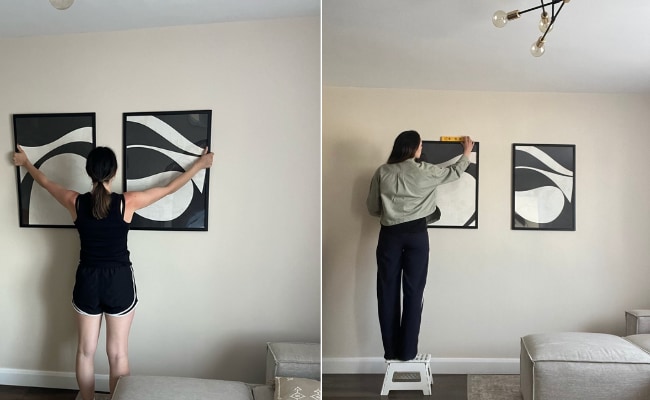
The process is really straightforward and to be honest, the planning out of where you want your picture is usually the longest part. Once you’re set on the perfect spot, peel off the backing and attach. Voila!
Removal warning
My only top tip would be that when it comes to removal, just make sure you follow the instructions and pull the adhesive part of the strip downwards and don’t just get tempted to rip it off. This is the only way to ensure you get a damage free result. It really is easy when you know how.
Read the full article here